I was able to attend an instructional class by Elide Lopez, fellow resident of Verrado. She has been making tamales for years and recently had made about 50 dozen or so for a church party. She was kind enough to share her secrets and teach myself and some other ladies in our church group how it's done.
Tamales
Taught by Elide Lopez
Ingredients: This quantity makes 10 dozens, do proportional numbers if making less.
I recommend all these ingredients to be bought at Food City, they carry all the brands listed.
10 pounds on Masa (Mama Lolas Brand) NOT prepared10 pounds of tamale meat (beef or pork or mixed)
4 pounds of Morrell Snow cap lard
1 bag of red dried chile mild (Barkers brand green bag)
2 bags of corn husks (Palenque brand)
Green olives (pitted) (Optional)
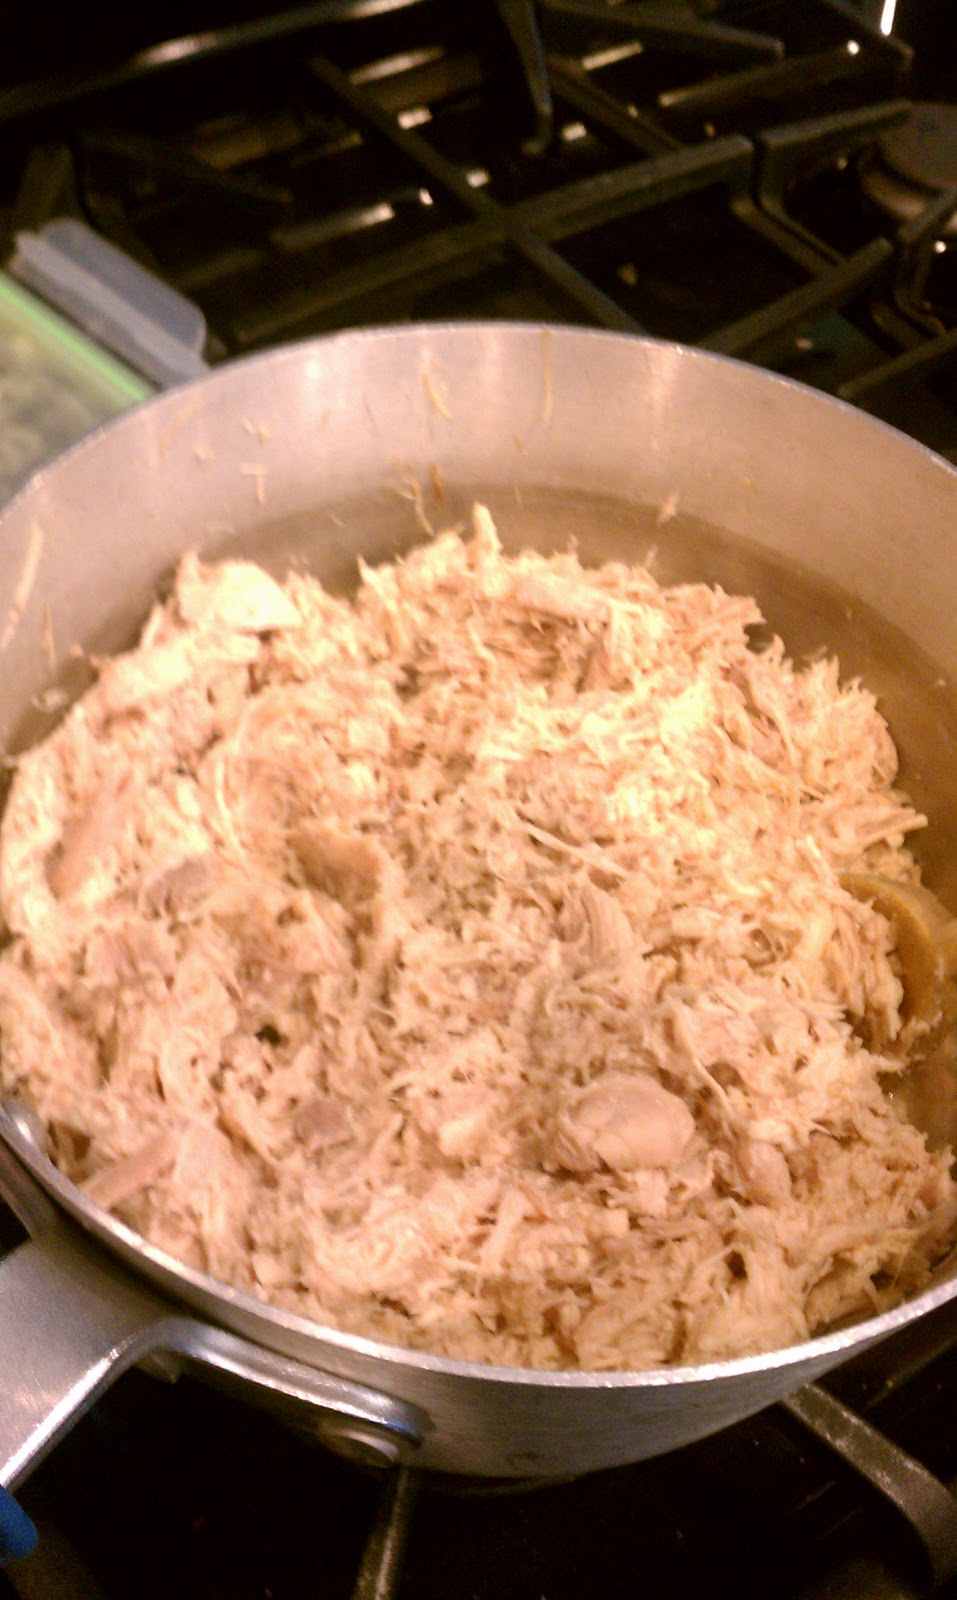
Meat preparation: In a large stock pot boil meat, 1 medium onion (I used 1 yellow onion) and 1 head of garlic and salt to taste. Boil until tender. I boiled mine for about 2 hours. Let it cool slightly and shred with forks. (Cook the meat 1 day before! Store in refrigerator in covered container. It will save you time and energy) 

SAVE ALL THE BROTH FROM THE MEAT. Broth will be mixed with the Masa later and some will be added back to the meat. I made two kinds of tamales, chicken and beef. So I got 5lbs of each meat and boiled them separately with 1/2 onion and 1/2 head of garlic in each pot.
You can invest in an xtra-large bowl for mixing of Masa and Meat. A big shallow wash tub works great. You need room to work the 10 pounds of masa with your hands!!***** Masa needs to be at room temperature to be able to prepare (takes at least 3 hours or overnight). *****
Also, you will need a metal strainer for red sauce (not a colander – holes are too big)
Husk:
Place the husks in a large bowl and submerge completely in warm water. Soak the husk until they are soft and pliable, at least 45 minutes and up to 2 hours.
Chili Sauce:
Boil a big pot of water. Add one bag of chili for every 10 lbs of mesa.
Place a plate on top to hold chili down. Boil chili until stem easily pulls apart with seeds. (will make two batches with blender)
Place chili’s ¾ full in blender, add 4-5 cloves of garlic and 1 full small onion cut in half. Add 1 tsp of salt. Add water from chili to cover all the chili’s and blend in the blender until able to strain the chili. (not to thick and not to thin) Use a strainer to strain the chili and press down with a spoon to get all the liquid from the chili’s. (throw out the stuff that is left in the strainer)
Note: will use the chili sauce for the dough (masa) and meat
Meat:
Heat up prepared meat on med-high.
 |
| Action shot! |
 Once meat is warmed up add some reserved broth so it's ¾ covering meat. Add 2 cups of red sauce to meat.
 |
| Beef Ready to Go |
 |
| Chicken about ready to go! Add more red sauce to chicken than you add to the beef. |
Dough (Masa):
In a huge mixing bowl start working the 10 lbs of mesa with your hands. (10 minutes or so)
Add: 2.25 lbs of lard (Ratio- 1 lb for every 4 lbs of mesa) Knead into dough
Add: 1 tsp of Baking powder
Add secret ingredient: Manteca De Puerco- ½ pint of Pork fat (store # 623-925-5676)..I did not add this to my tamales but others did
Add: 2-3 TBL salt or more depending on your taste- (don’t put salt until dough is ready)
Mix an mix and mix until it's light and fluffy. You can test it by dropping a little bit into a glass of water, when it doesn't sink to bottom, it's done.
Make a well with the dough (like a volcano hole):
Add 3 cups of meat broth one cup at a time, mixing in between (room temp broth)
Add 2 cups of Chili Sauce
 The dough will be like thick mashed potatoes and should be moist but not wet. Cover the bowl with a damp towel and set aside until ready to use.
Side Note: salt will give taste to your bland dough; however having too much salt will not taste well. Also, take into consideration how salty your broth may be if you added a lot of salt while cooking your meat.
Wrapping Tamales:

Spread the corn husk out, this one is a little big.

Split it in two.

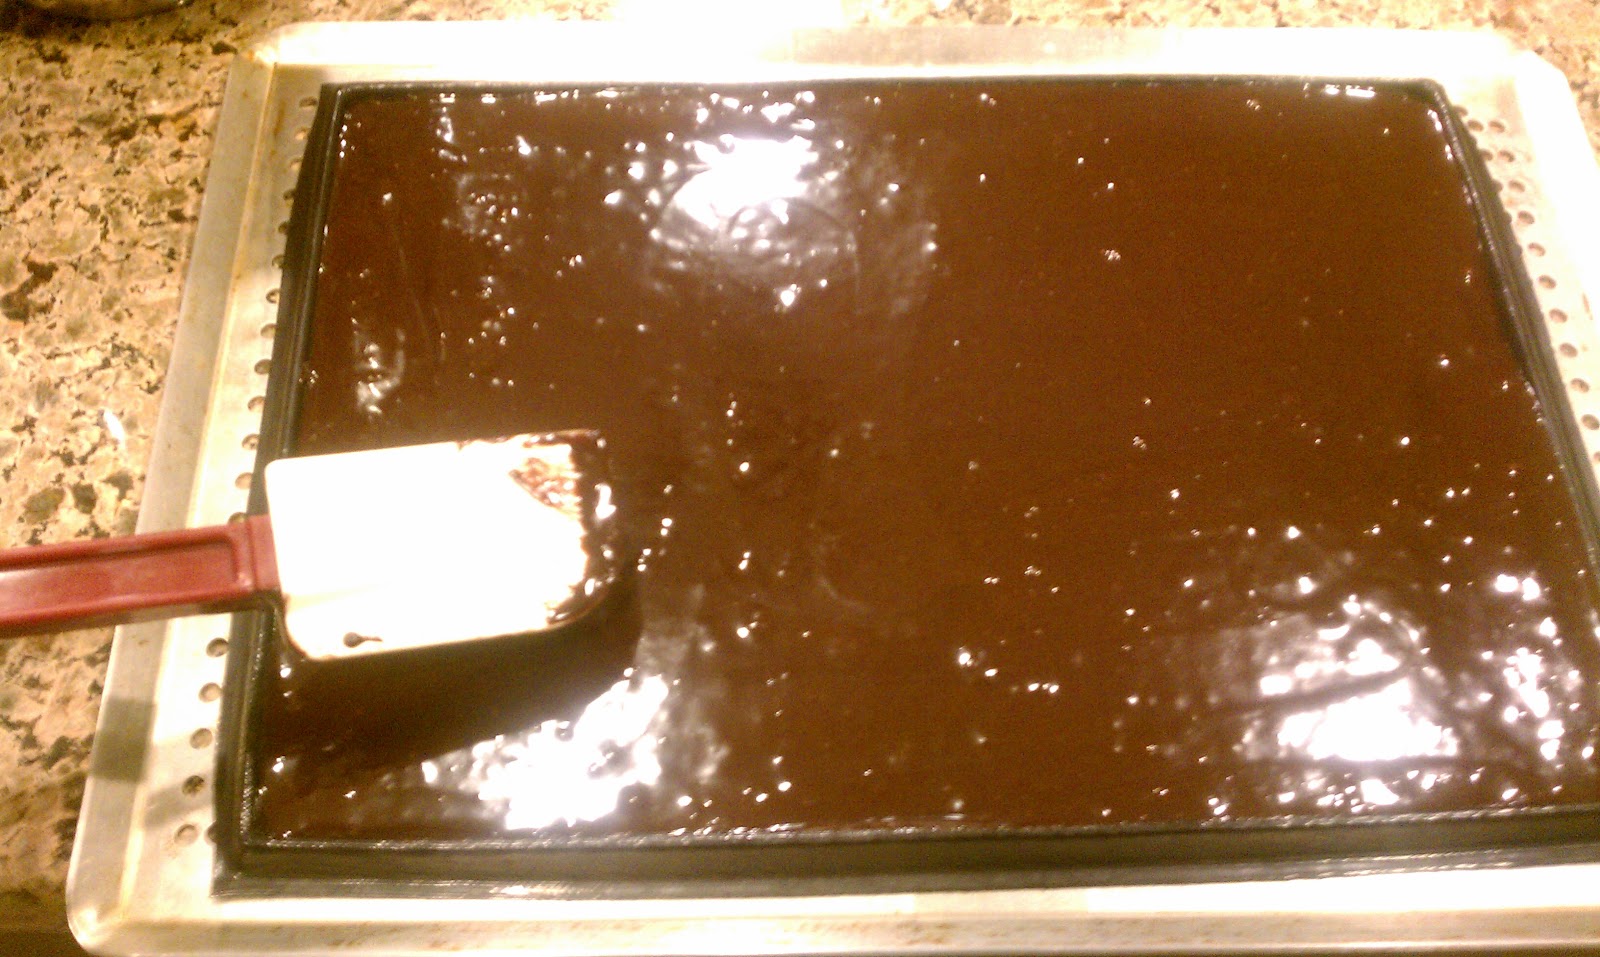
Spread masa onto husk, I wore gloves, probably not very authentic of me. My work surface is a Demarle Roul'Pat, non stick work mat - a total must have!! Ask me how to buy one.

Masa can go right to the edge on the top, and the edsge on one side, but leave the other side masa free for about an inch for wrapping and the bottom of course and you can see:

Add your filling, here's a beef tamale I was making. Fold over the side where masa reaches the edge
Fold the other side over
Fold up the bottom
Gently Sqeeze the top portion making a seal.
Voila!
And just like that...10 dozen...see that was easy!!
I put 1 dozen of each in the refrigerator the others I put in freezer bags and they aren't coming back until Christmas Eve!
Cooking:
Prepare a big heavy pot with several cups of water at the bottom covered with something with holes in it to let the steam out. You don’t want the tamales to sit in the water.
Stand the tamales upright to fill the pot. Cover with a damp dishrag then cover the pot with lid. Steam for about 1 hour. Make sure you don't run your pot out of water. You'll be able to tell by the amount of steam escaping the lid. When the steam is less, add more water. You know they're done when you house smells like tamales!!
Husband tested and approved!!
Tamales
Taught by Elide Lopez
Ingredients: This quantity makes 10 dozens, do proportional numbers if making less.
I recommend all these ingredients to be bought at Food City, they carry all the brands listed.
10 pounds on Masa (Mama Lolas Brand) NOT prepared10 pounds of tamale meat (beef or pork or mixed)
4 pounds of Morrell Snow cap lard
1 bag of red dried chile mild (Barkers brand green bag)
2 bags of corn husks (Palenque brand)
Green olives (pitted) (Optional)
Meat preparation: Boil meat with 2 onions and 1 of head of garlic and salt to your preference, when meat is fully cooked, let it cool down and shred meat for preparation when red sauce is made later. SAVE ALL THE BROTH FROM THE MEAT. Broth will be mixed with the Masa later and some will be added back to the meat.
***** Masa needs to be at room temperature to be able to prepare (takes at least 3 hours or overnight). *****
Please bring an xtra-large bowl for mixing of Masa and Meat. A big shallow wash tub works great. You need room to work the 10 pounds of masa with your hands!!
Also, you will need a metal strainer for red sauce (not a colander – holes are too big)
Husk:
Place the husks in a large bowl and submerge completely in warm water. Soak the husk until they are soft and pliable, at least 45 minutes and up to 2 hours.
Meat:
Heat up prepared meat on med-high. Once meat is warmed up add meat juice about ¾ covering meat. Add 2 cups of red sauce to meat.
Dough (Masa):
In a huge mixing bowl start working the 10 lbs of mesa with your hands. (10 minutes or so)
Add: 2.25 lbs of lard (Ratio- 1 lb for every 4 lbs of mesa) Knead into dough
Add: 1 tsp of Baking powder
Add secret ingredient: Manteca De Puerco- ½ pint of Pork fat (store # 623-925-5676)
Add: 2-3 TBL salt or more depending on your taste- (don’t put salt until dough is ready)
Mix an mix and mix until it's light and fluffy. You can test it by dropping a little bit into a glass of water, when it doesn't sink to bottom, it's done.
Make a well with the dough (like a volcano hole):
Add 3 cups of meat broth one cup at a time, mixing in between (room temp broth)
Add 2 cups of Chili Sauce
The dough will be like thick mashed potatoes and should be moist but not wet. Cover the bowl with a damp towel and set aside until ready to use.
Side Note: salt will give taste to your bland dough; however having too much salt will not taste well. Also, take into consideration how salty your broth may be if you added a lot of salt while cooking your meat.
Chili Sauce:
Boil a big pot of water. Add one bag of chili for every 10 lbs of mesa. Place a plate on top to hold chili down. Boil chili until stem easily pulls apart with seeds. (will make two batches with blender)
Place chili’s ¾ full in blender, add 4-5 cloves of garlic and 1 full small onion cut in half. Add 1 tsp of salt. Add water from chili to cover all the chili’s and blend in the blender until able to strain the chili. (not to thick and not to thin) Use a strainer to strain the chili and press down with a spoon to get all the liquid from the chili’s. (throw out the stuff that is left in the strainer)
Note: will use the chili sauce for the dough (masa) and meat
Cooking:
Prepare a big heavy pot with several cups of water at the bottom covered with something with holes in it to let the steam out. You don’t want the tamales to sit in the water. Stand the tamales upright to fill the pot. Cover with a damp dishrag then cover the pot with lid. Steam for about 1 hour. Make sure you don't run your pot out of water. You'll be able to tell by the amount of steam escaping the lid. When the steam is less, add more water. You know they're done when you house smells like tamales!!
.JPG)